Designing our Backpack Buckles
We wanted nice sturdy buckles for our Winnats Roll Top. Most backpacks use ‘off the shelf’ buckles, so I thought there would be plenty of options... I was wrong.
From creating the first prototype of the Winnats Roll Top Backpack, I’d already decided to use the wider 38mm heavy cotton webbing (instead of the standard 25mm webbing) because I thought it more befitting for the chunky, boxy aesthetic of the rest of the pack.
There were a number of buckle choices for 25mm webbing, but not for 38mm webbing.
Hmm.
Never one to take the easy road, I decided to design my own buckles. That should be pretty straight forward, right?
Step 1 – the sh*t sketches
 As ever, the mighty pencil and sketchbook is my go-to for starting to explore ideas. I can’t draw for toffee (as they say up north) but I’m a big believer that all great things begin life with a sh*t sketch. At this stage, you don’t need to be able to draw precisely, you just need to be able to draw well enough to communicate an idea.
The scribble is the point at which an idea (an abstract concept) takes on its first form in the material world.
It was a fair few pages of scribbles, but above is a cheeky sketchbook shot of the design option we took forward.
Step 2 - let's get digital
 The next step towards manufacturing was to get my idea into vector format and get some precise dimensions.
Step 3 – CAD day at the office
 At this stage, I was thinking of having a bend in the buckle to assist movement of the webbing for adjusting the straps. I also can’t CAD draw for toffee, so my good friend Andy kindly drew out my buckle in CAD.
Step 4 – 3D printing
 I sent my CAD files through this invisible, mystical thing called the internet, and then, two days later these beauties dropped through my letterbox. This is 2017 after all: what a time to be alive (minus Trump and Brexit, but let’s not go there)... I said leave it!
It was helpful to have a physical model to test the webbing's movement, which meant that I could then progress onto the next stage.
Step 5 – made in steel
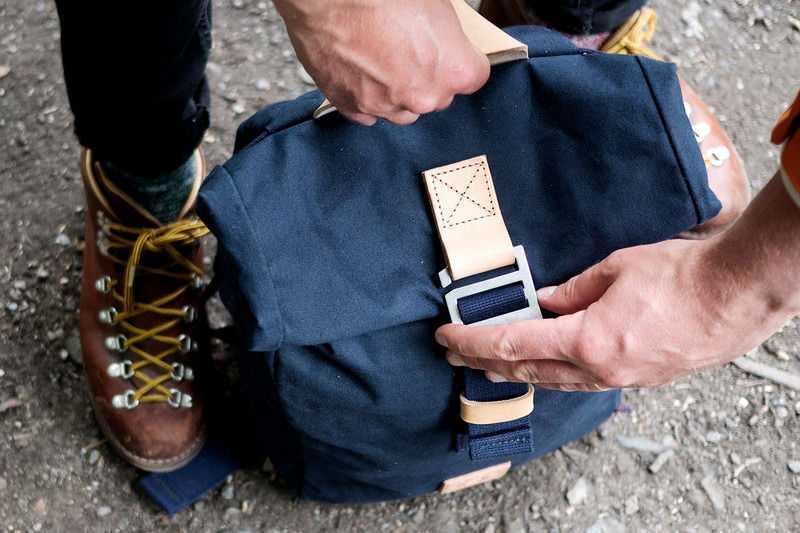
 I’d received a variety of buckle options whilst I was considering the narrower 25mm cotton webbing option, but most of them were either plastic or aluminium. These have a weight advantage, but I wasn’t designing a backpack for weight thrifters – I wanted the buckles to feel robust and hardy so it simply had to be stainless steel.
From further research it seemed that laser cutting and then bending the buckles was going to be much more viable than having a custom cast made, so I sent my 2D vector files to a local Sheffield company, who laser cut them out of 3mm (front buckle) and 2mm (strap buckles) stainless steel.
I opted for ‘316 grade’ stainless steel – which has 2% molybdenum added to the nickel and chromium, which gives increased corrosion resistance, particularly in coastal environments.
So we had our lovely stainless steel buckles… but the edges were super sharp and were not fit for purpose.
All I needed to do was smooth the edges off.
Easy peasy, right?
Step 6 – the smoothing experiments
Attempt one – My friend Sam (below) lent me his bench grinder…which worked for smoothing the outer edges and was quite fun to do, but it didn’t smooth off the inner edges for allowing the webbing to move freely. Oh, and it took absolutely aaaaaaaaages.

Attempt two – I popped in to see a chap at a metals processing company in Kelham Island (an industrial part of Sheffield). He was interested in helping out and kindly stopped production to try sand blasting the buckles. The softer sand didn’t really make any difference but then the harsher sand worked a bit too well; it warped the shape and added a rough grainy raised texture. Sadly, they didn’t have the magic ‘Goldilocks’ medium coarse of blend of sand. Plus I was told that sand blasting a batch of buckles would give an inconsistent finish.
So, back to the drawing board.
 |
 |
Attempt three – Being entirely honest, I was fed up with not being able to find a way of smoothing the buckles, so put it to one side and started working on a different mini design project I’d had in mind for a while – the Sheffield Pocket Tool (above). I spoke with the team at Joseph Rogers and mentioned my buckle smoothing troubles, and they suggested popping them in the barrel polish with their stainless steel blades.
Barrel polishing can also be referred to as ‘deburring’ or ‘tumbling’, depending on who you speak to but they are essentially the same thing. It involves putting the buckles into a barrel (below) full of porcelain pieces, which rotates slowly for half a day, and then moving them over to different barrels with finer, smoother porcelain pieces. Over the course of a couple of days, this smooths off the sharp edges and eventually gives a polished finish. Basically, what the ocean does to rock and glass – but over a couple of days, rather than years!

Tumbling machine. Source: Galvanica Spreafico

Porcelain tumbling media. Source: Lualma Anodica
So, after a couple of days in the barrels…
 Boom!
Boom!
The next step in the process was to bend the buckles to allow the webbing to move smoothly through in order to adjust the strap lengths. But the polished finish enabled smooth movement without needing to bend. So this reduced one step in the process, and the simple, flatter shapes are more befitting of the packs aesthetic, too.
Bonus.
 So that’s the story of how I designed the buckles for our Roll Top backpacks. Not as quick or simple as buying buckles ‘off the shelf’, but I’ve learned so much through the process, and the hard work and experimentation was worth the effort to arrive at our sturdy, unique custom buckles, which add to the uniqueness of our backpacks.

View Roll Top Backpacks
Mark Musgrave
More adventures
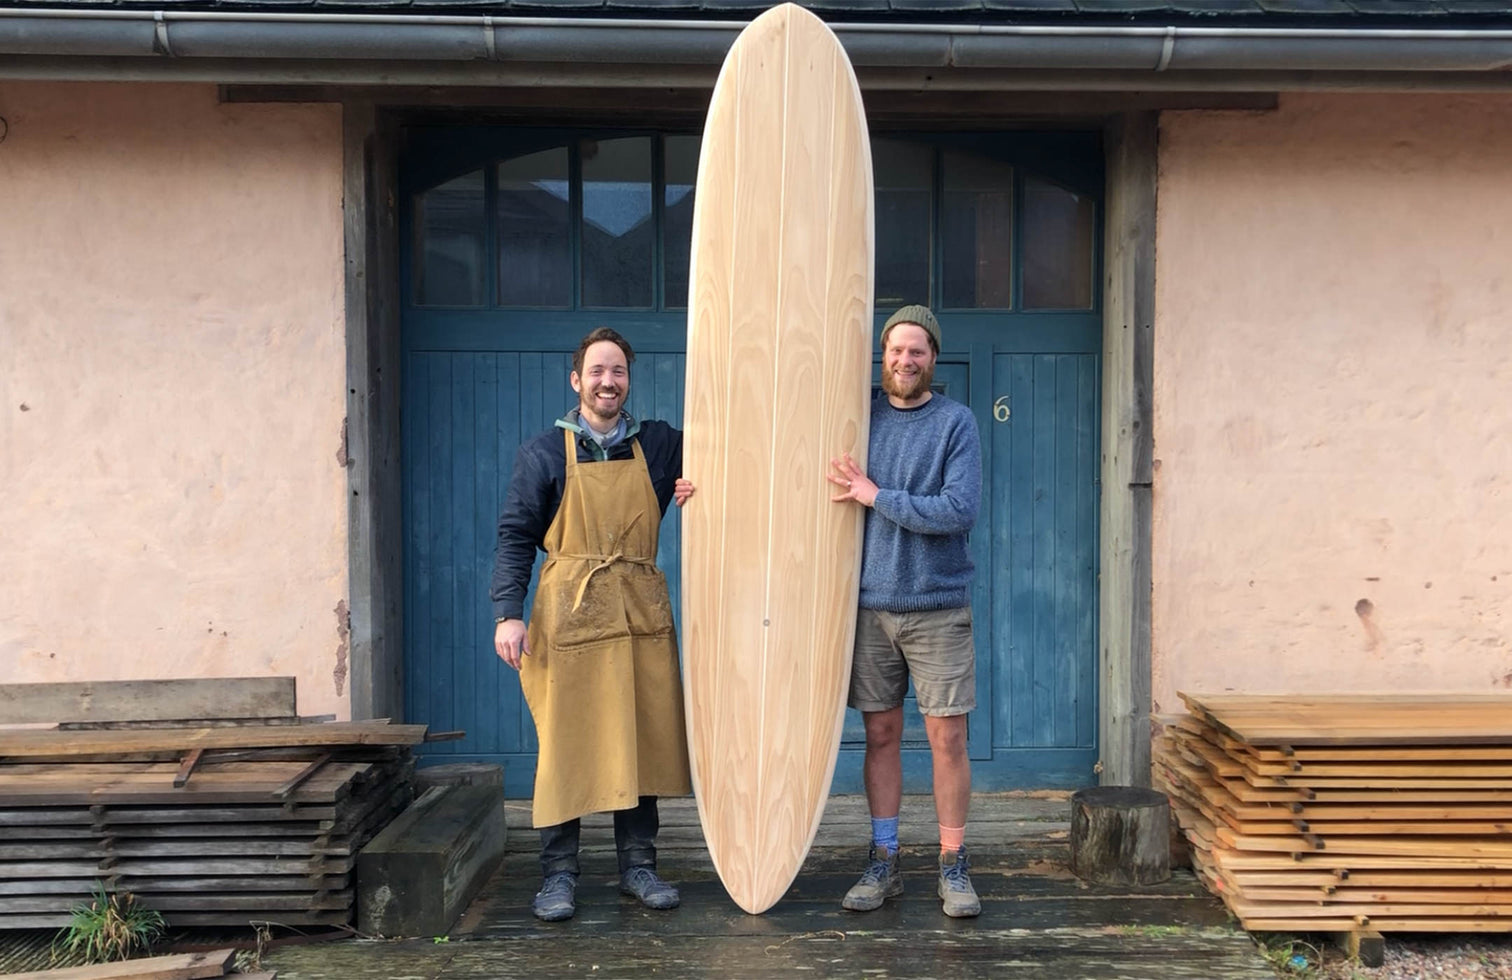
Making a wooden surfboard
A little while ago, I headed to the rugged north coast of Cornwall to spend a week making my own wooden surfboard...like you do. It'd been on my bucket list to do an Otter Surfboards workshop for...well, since I found out that it existed! I met the wonderful human that is founder James Otter at the Do Lectures back in 2015. We became good pals and all the more so since we upped sticks from Sheffield and moved down to Cornwall in early 2019. There's a few more waves rolling in down here than in the Peak District you see....
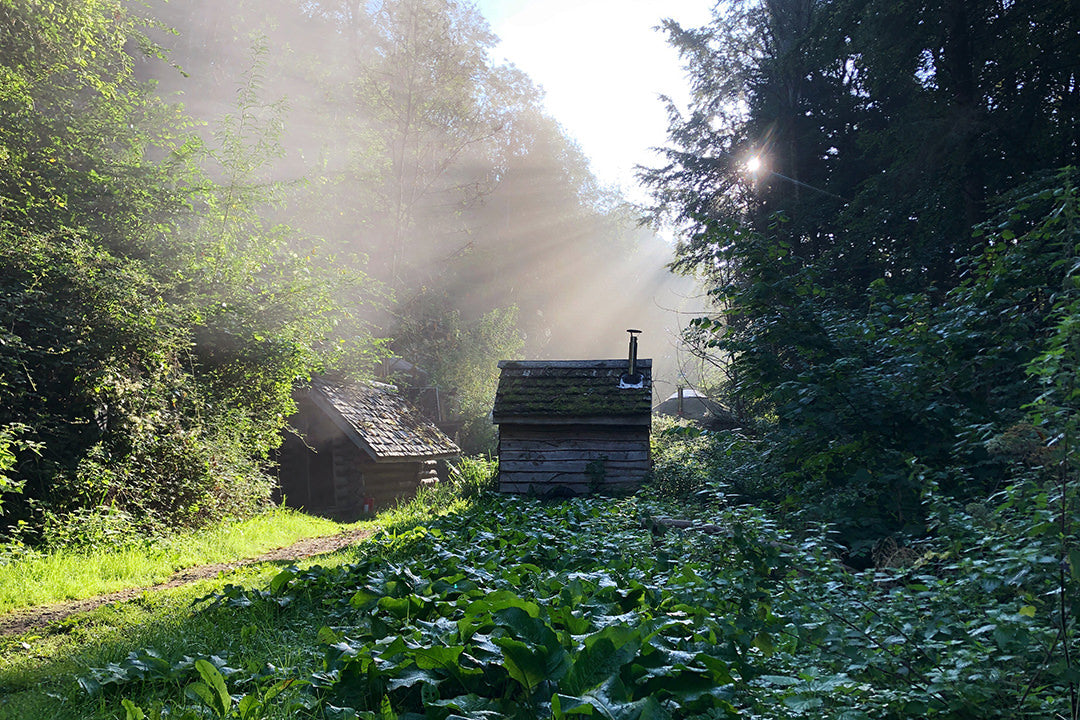
Forest living
Ahead of moving house and becoming parents, we were well ready for some downtime. So we escaped to Campwell Woods for a few nights...
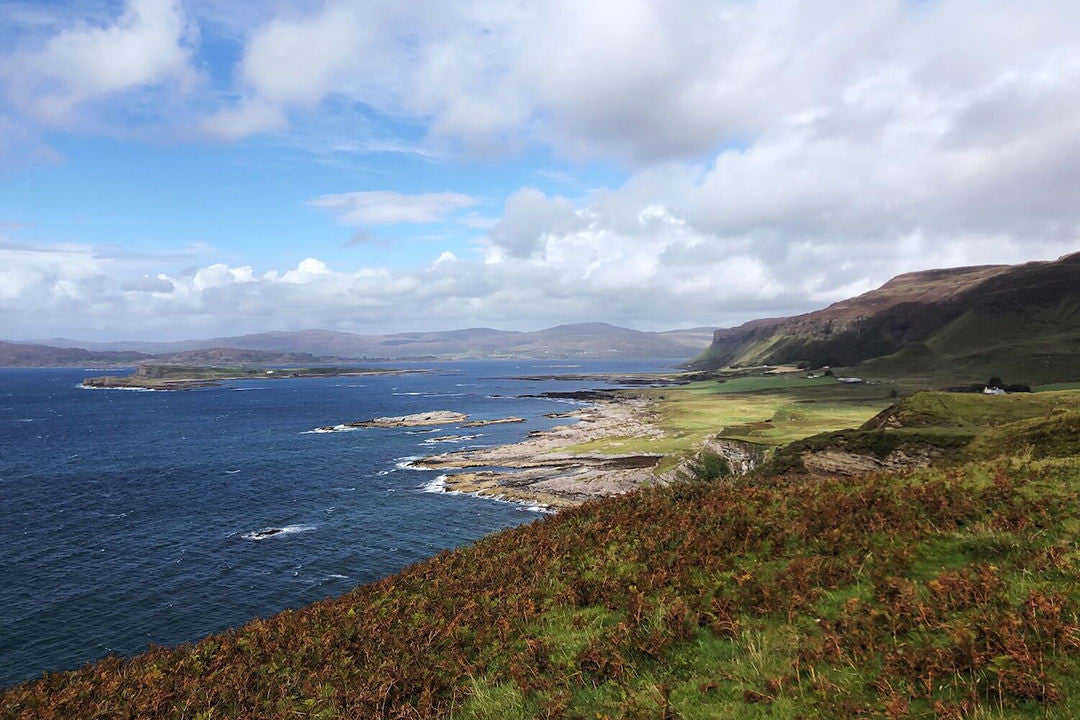
Our Time to Mull
It was a spur of the moment thing. We were staying in the van, just making it up as we went along. So, with no expectations, we booked ferry tickets across to the Isle of Mull.
Kudhva: 'Hideout'
Kudhva means 'Hideout' in Cornish. Tucked away on the north coast of Cornwall, we couldn't wait to get a taste of the hidden treasure for ourselves.